Understanding the Importance of Clean Clear Blocks
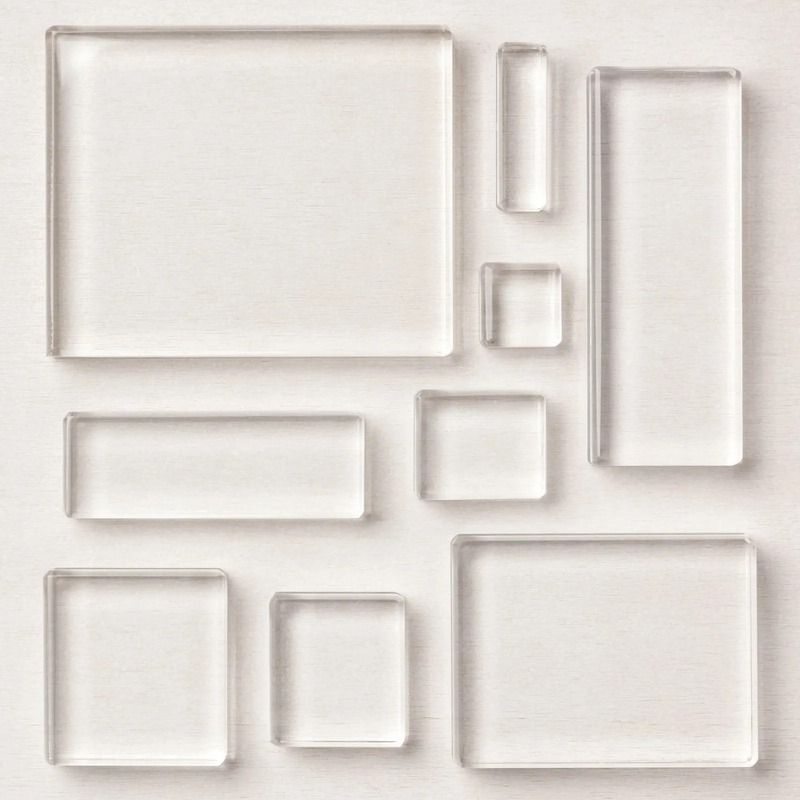
Stamping is a beloved craft enjoyed by many, whether for card making, scrapbooking, or other creative projects. To achieve crisp and clear stamped images, maintaining clean tools is essential. Clear blocks, such as those from Stampin’ Up!, play a crucial role in stamping success. These transparent acrylic blocks provide a stable surface for mounting and using various stamps. However, over time, they can accumulate ink residue, dust, and other debris, leading to blurred or incomplete stamped impressions. Cleaning your clear blocks regularly not only ensures optimal stamping performance but also prolongs their lifespan. Let’s delve into effective methods for keeping your Stampin’ Up! clear blocks sparkling clean.

Gathering Your Cleaning Supplies
Before diving into the cleaning process, it’s important to gather the necessary supplies. Fortunately, cleaning clear blocks doesn’t require any specialized equipment. Here’s what you’ll need:
- Mild Soap or Stamp Cleaner: Opt for a gentle soap or specialized stamp cleaner designed to remove ink without damaging the acrylic material of the blocks. Avoid harsh chemicals or abrasive cleaners, as they can scratch or cloud the surface of the blocks.
- Soft Cloth or Sponge: Select a soft, lint-free cloth or sponge for wiping down the clear blocks. Microfiber cloths work well for gently lifting ink residue without leaving lint behind.
- Water: Clean, lukewarm water will be used in conjunction with soap or stamp cleaner to dissolve and rinse away ink buildup.
- Paper Towels: Keep a few paper towels handy for drying the blocks after cleaning.
With these supplies in hand, you’re ready to restore your clear blocks to their pristine condition.
Step-by-Step Cleaning Process
Now that you have your cleaning supplies assembled, let’s walk through the step-by-step process for cleaning your Stampin’ Up! clear blocks effectively:
Step 1: Rinse the Blocks. Begin by rinsing the clear blocks under lukewarm running water to remove any loose ink or debris. Avoid using hot water, as it can cause the acrylic to warp or become damaged plus you don’t want to burn your hands! Gently shake off excess water to prevent drips.
Step 2: Apply Soap or Stamp Cleaner. Squirt a small amount of mild soap or stamp cleaner onto a soft cloth or sponge. Alternatively, you can apply the cleaner directly to the surface of the clear blocks. Be cautious not to use too much soap, as excessive suds can make rinsing more challenging.
Step 3: Gently Scrub the Surface. Using the soapy cloth or sponge, gently scrub the surface of the clear blocks, paying particular attention to areas with stubborn ink stains. Avoid using excessive pressure or abrasive scrubbing motions, as this can scratch the acrylic. Instead, use gentle circular motions to lift away ink residue.
Step 4: Rinse Thoroughly. Once you’ve scrubbed the blocks, rinse them thoroughly under lukewarm running water to remove any remaining soap or cleaner residue. Ensure all traces of soap are washed away to prevent streaks or cloudiness on the acrylic surface.
Step 5: Dry the Blocks. Pat the clear blocks dry with a clean paper towel, taking care to absorb any remaining moisture. Avoid air-drying, as this can leave water spots or streaks on the surface. For added shine, you can gently buff the blocks with a dry microfiber cloth.
Step 6: Optional Finishing Touches. If you notice any stubborn ink stains or residue after cleaning, you can use a specialized acrylic cleaner or rubbing alcohol to spot-treat the affected areas. Apply a small amount of cleaner to a cotton swab or soft cloth and gently rub the stained areas until the ink is lifted.
Step 7: Store Clean Blocks Properly. Once your clear blocks are clean and dry, store them in a clean, dry environment away from direct sunlight and extreme temperatures. Storing them properly helps prevent dust and debris from accumulating between uses, keeping them ready for your next stamping project.
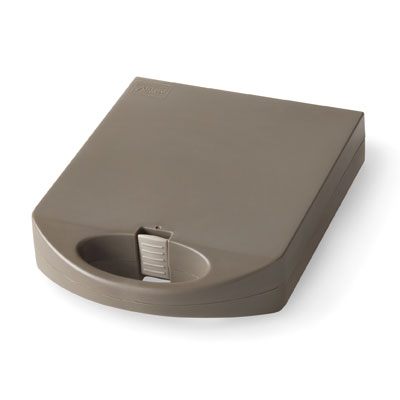
Stampin’ Up! offers the case below which is perfect for storing your block and they are ready to take with you for any crafting event! If you are interested in purchasing the blocks or case visit my Online Store.

In Conclusion
By following these simple steps, you can keep your Stampin’ Up! clear blocks in pristine condition, ensuring flawless stamped impressions every time. Regular cleaning not only enhances stamping performance but also preserves the longevity of your beloved crafting tools. So, don’t let dirty clear blocks dim your creative spark—give them the TLC they deserve and watch your stamped creations shine!
Happy crafting and if you have any questions please reach out to me.


0 Comments